
Light Tower Lens Damage Inspection: Record Defects and Control Service Release
Use light tower lens damage inspection to identify affected heads, document visible defects safely and obtain a traceable service and release decision.
Light tower lens damage inspection should document the condition of the lamp cover, identify visible defects and route uncertainty to the responsible service specialist before continued use. Observe from an approved safe position, record the affected lamp and machine identity, and preserve photographs that show both the detail and its location. A crack, loose cover, suspected water entry or uncertain damage should trigger the applicable stop and assessment process. Do not climb the mast, open a lamp or energize questionable equipment simply to get a clearer diagnosis.
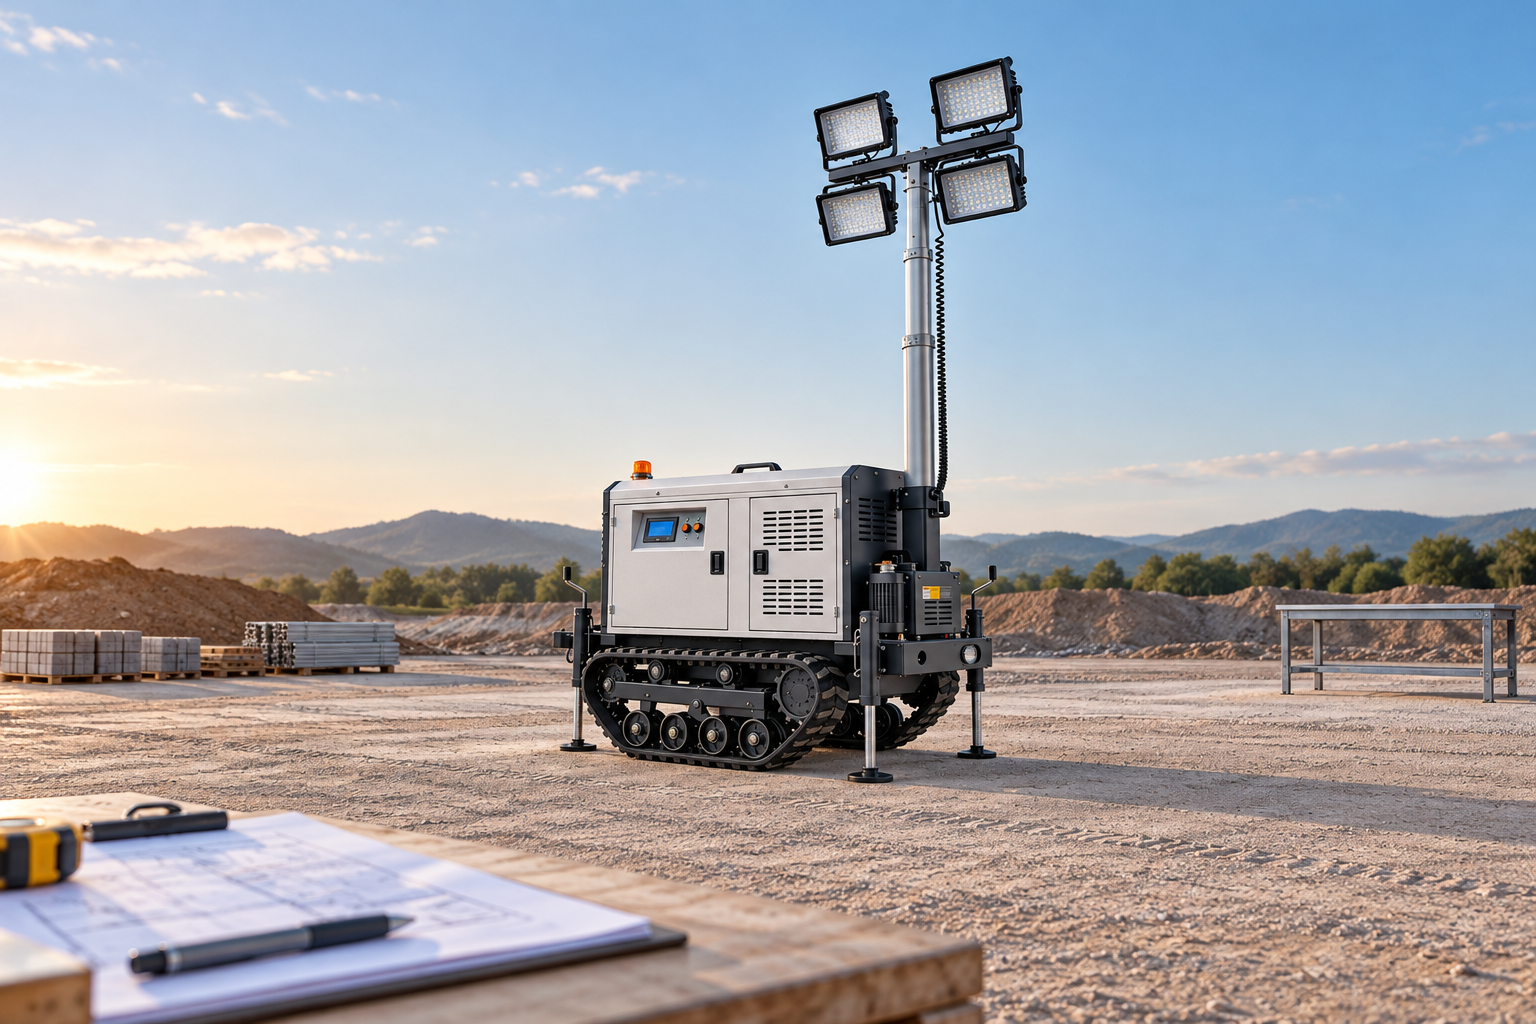
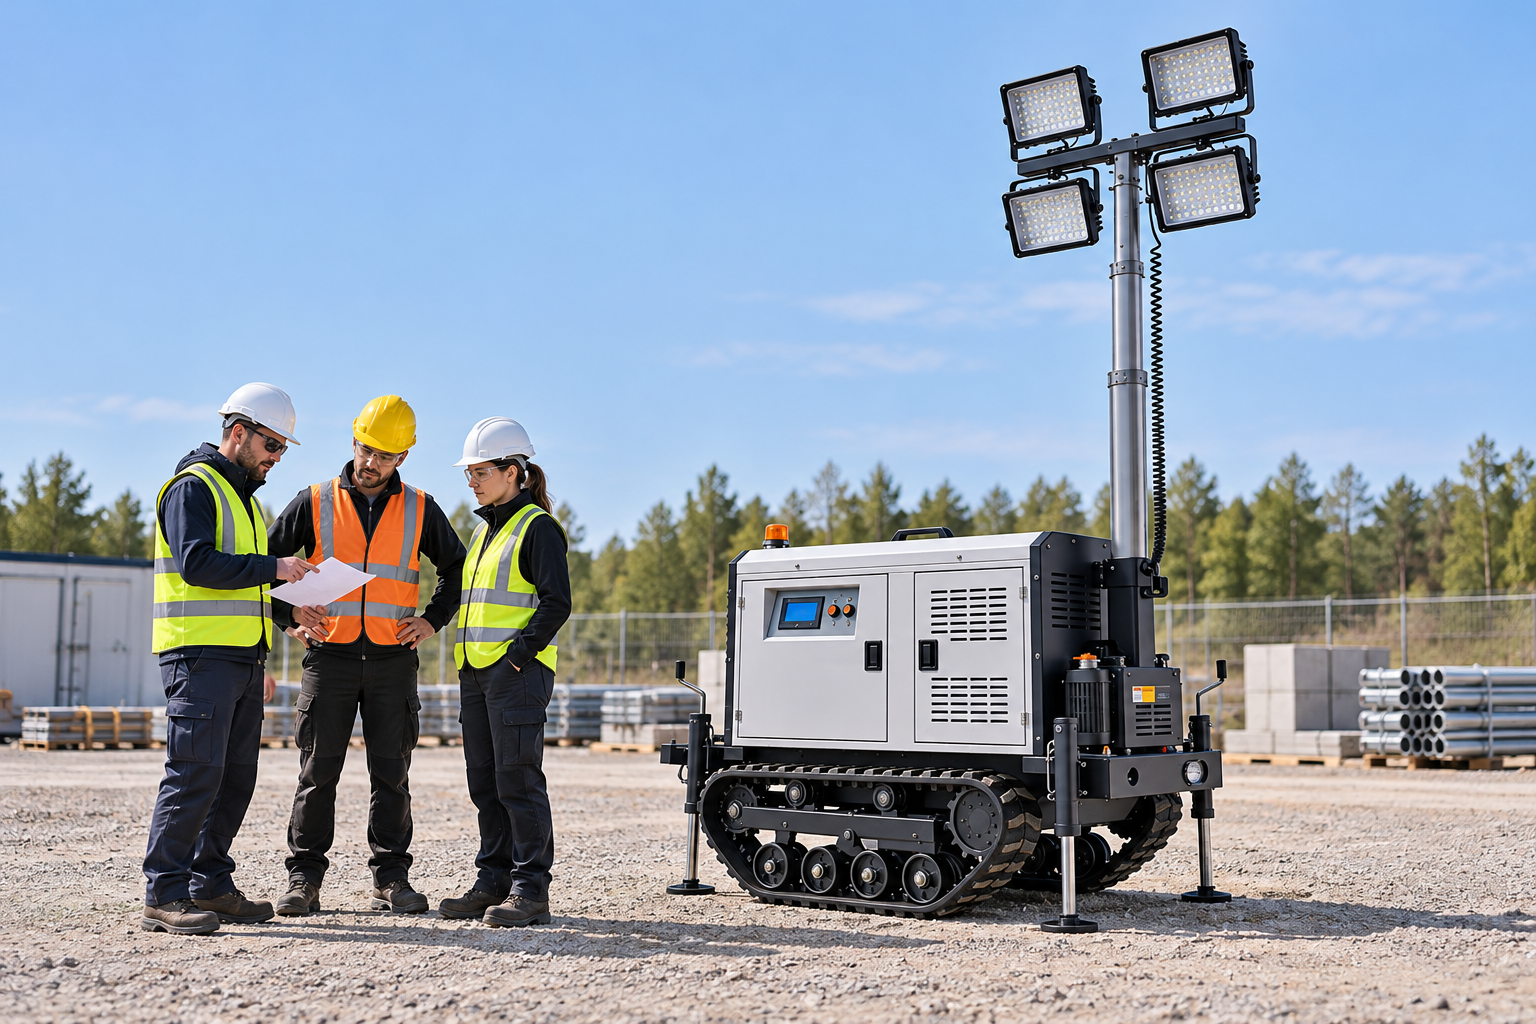
This guide focuses on optical cover condition and the evidence needed for a service decision. It does not supply repair instructions, impact limits or permission to keep a damaged lamp operating. The photographed Keyyou product establishes the appearance of a tracked four-head tower, not the exact lens material, replacement part or environmental performance of an individual delivered unit.
Confirm what surface and assembly are being assessed
Use the manufacturer's terminology and applicable machine documents to identify the affected lamp assembly. The transparent or translucent outer part may be described as a cover, lens or glazing, and its function can vary by design. Do not assume that every visible clear surface is a replaceable optical lens or that it can be serviced separately from the complete head.
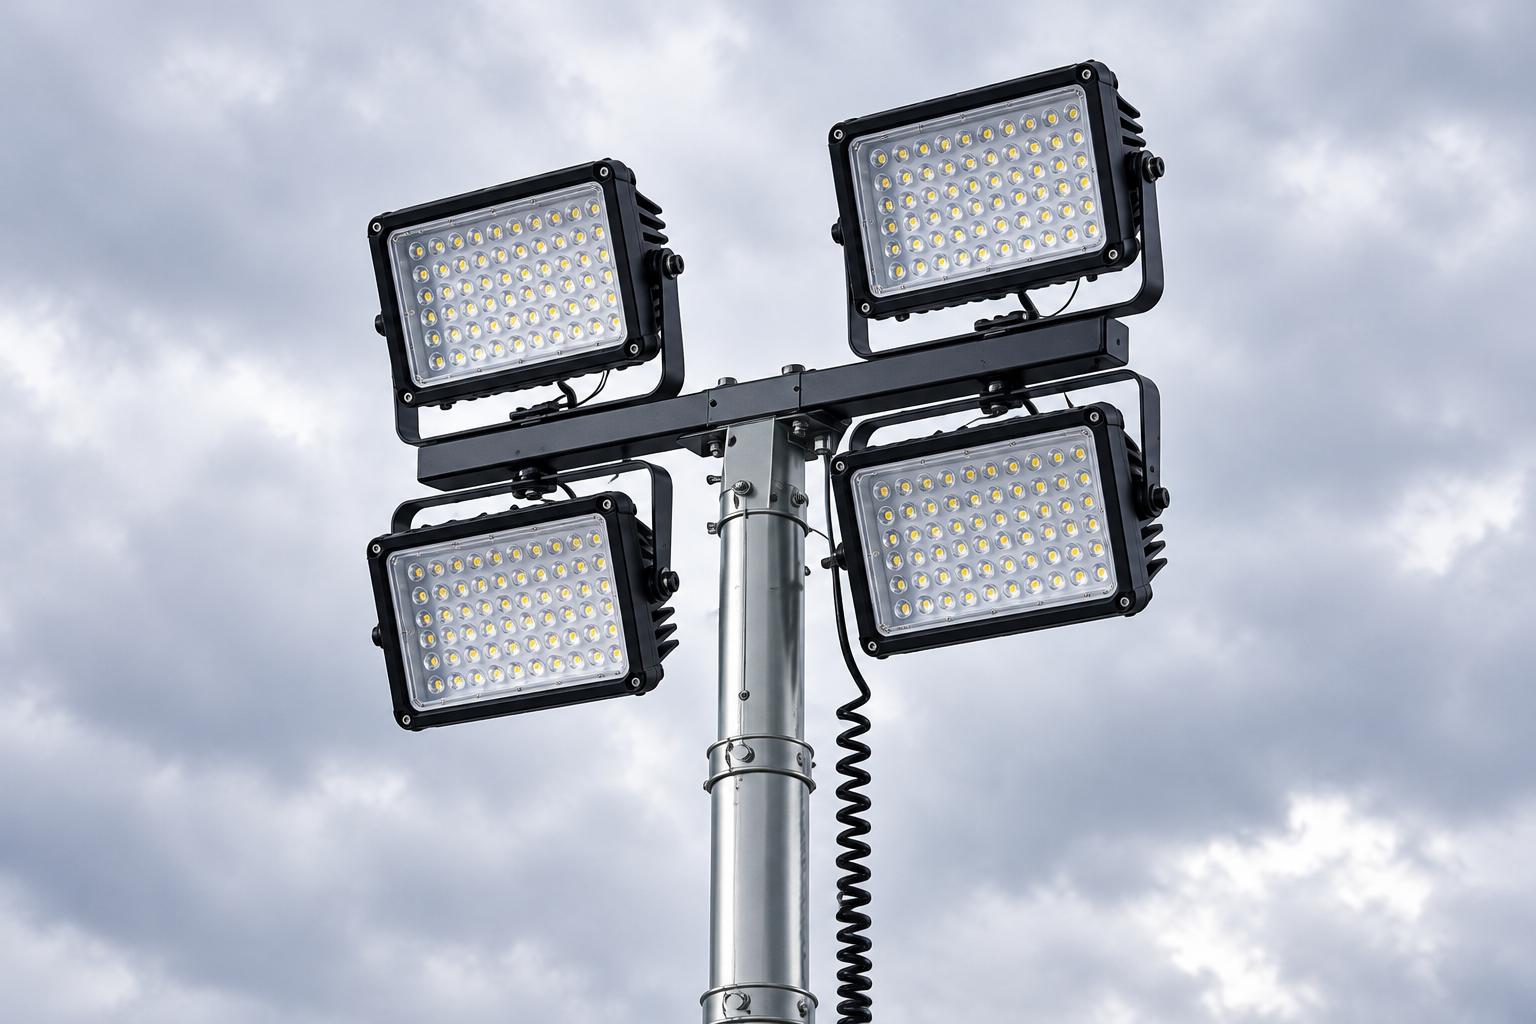
Record the machine identifier and a consistent lamp position description. A four-head arrangement needs a reference view so that a later technician can identify the same head. For example, specify the viewing direction before using left, right, upper or lower. An annotation in a service photograph can clarify the record, but it should not replace the equipment identity or manufacturer part information.
Distinguish physical damage from ordinary dirt and from an uncertain visual effect. Reflections, shadows and surface deposits can resemble a crack in a distant photograph. If the condition cannot be determined safely, record it as uncertain and follow the applicable hold process. Avoid describing the part as sound merely because an image is inconclusive.
Establish safe observation conditions
Follow the machine's approved shutdown, isolation and access requirements before any inspection activity that needs them. Switching off the visible light does not prove every relevant source of energy has been controlled. Tasks beyond normal external observation require the appropriate competence and authority, particularly where access would involve electrical parts, mast movement or removal of a cover.
Select a safe observation position on suitable ground, outside any area where equipment could move or objects could fall. Do not stand directly under a suspect loose component to obtain a close photograph. If the assembly cannot be examined adequately from the permitted position, request a competent inspection arrangement. An improvised ladder against the mast is not an acceptable photographic aid.
Consider whether dust, weather or other work makes the observation unreliable. Bright reflections can hide a crack, while low light can conceal missing material at an edge. Record these limitations and arrange a better assessment rather than moving into an unsafe position. The condition report should describe what was actually visible, not what the operator hoped to confirm.
Record defect features without making an unsupported diagnosis
Describe visible features in plain terms: apparent crack, missing fragment, loose edge, abnormal clouding, trapped-looking moisture or a change from a previous photograph. Note the position and extent as far as can be established safely. Do not attribute the cause to impact, heat or a material failure unless a competent investigation supports that conclusion.
Separate the observation from its operational consequence. A lamp that still illuminates may have damage that requires attention, while a lamp that does not illuminate may have a cause unrelated to the outer cover. Neither observation establishes electrical safety or residual enclosure protection. Preserve both facts in the record without using one to dismiss the other.
Look for related externally visible changes within the approved inspection scope, such as a displaced head, a damaged bracket or obvious impact marks. These can help the service specialist understand the event. They do not authorize the operator to retighten parts, bend a bracket back or make an unapproved adjustment. If safe condition is uncertain, the next step is assessment rather than cosmetic correction.
Build a useful photographic evidence set
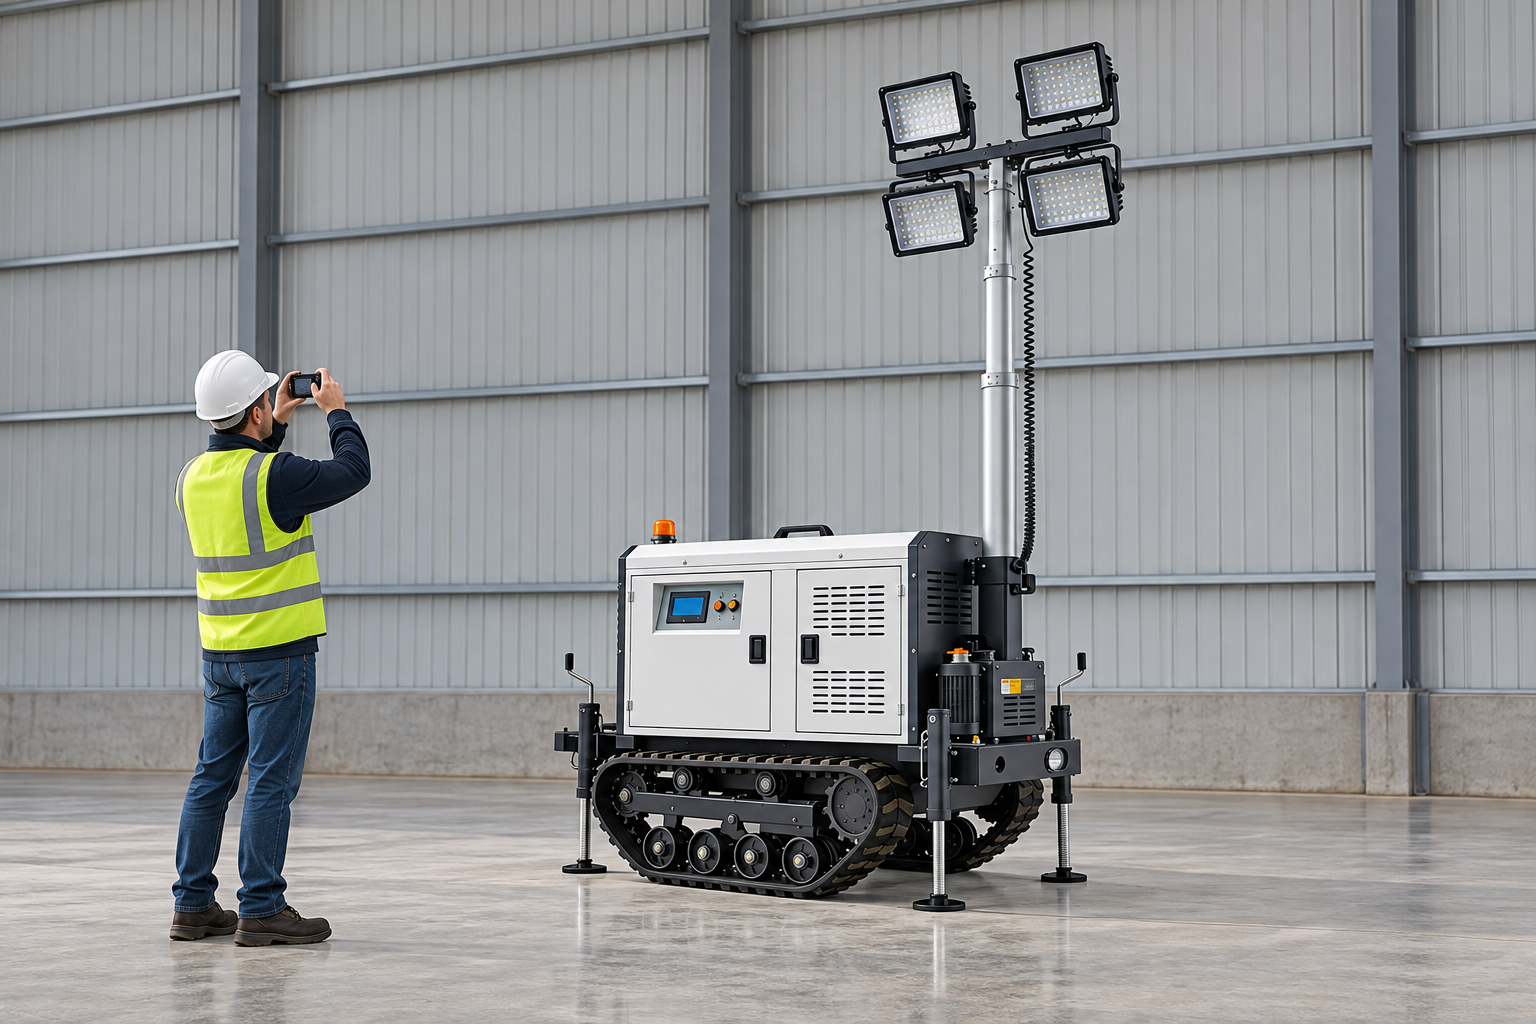
Take an overview that identifies the machine and lamp arrangement, a medium view that locates the affected head and a detail view from a safe position. Retain the original files and capture time. If zoom or cropping is used for communication, keep the uncropped original as well so the reviewer can understand context and avoid mistaking an enlarged reflection for a physical feature.
Include a description of observation conditions, such as the viewing direction and whether the lamps were off. Do not add a scale by reaching into an unsafe position or placing an object against an elevated cover. If size measurement is necessary, let the competent inspector determine a suitable method within the approved access and isolation arrangement.
Avoid images that hide the identity or exaggerate certainty. A close-up without a machine reference may be difficult to reconcile with a warranty or service enquiry. Conversely, a distant whole-machine image may not show enough detail to classify a defect. State explicitly when the evidence cannot settle the question and keep the equipment status consistent with that uncertainty.
| Observed condition | Decision | Evidence or responsibility |
|---|---|---|
| Apparent crack or missing fragment | Apply the relevant hold and assessment process | Overview, affected-head location and safe detail images |
| Reflection makes condition unclear | Record uncertainty rather than clear the part | Viewing conditions and request for competent assessment |
| Lamp still illuminates despite visible damage | Do not use light output as safety evidence | Record both observations separately |
| Replacement proposed | Check approved compatibility and work scope | Actual assembly data and authorized service method |
| Service reportedly complete | Verify required release evidence | Repair record, applicable checks and named approval |
Set hold points that match the actual instructions
Use the manufacturer's criteria and the organization's inspection process to decide whether the unit must remain out of service. This article does not define an acceptable crack size, a permitted missing area or a universal severity scale. Where there is a credible safety concern or the relevant criteria are unavailable, obtain competent advice rather than creating a local numerical threshold.
Communicate the hold to dispatch, the operator and the service team using the unit identity. Follow the applicable procedure for preventing unintended use and identify who may clear the hold. A note on one person's phone is insufficient if another shift can collect the machine without seeing it. Keep the report accessible to the people who control release.
Do not tape over a damaged cover, apply an unapproved sealant or substitute a similar-looking part as a routine operator response. Such changes can affect optics, thermal behavior, mechanical integrity or protection, depending on the assembly. Any repair or replacement must be assessed against the actual equipment requirements and carried out through the authorized process.
Give the service specialist the information needed
Send the unit identification, applicable manual or parts information, affected-head position, observed symptoms, photographs and the event history that is actually known. Include whether the defect was found before use, after transport or following a reported event. Distinguish witnessed facts from second-hand explanations so the reviewer can ask targeted questions without assuming a cause.
Ask what assessment is required, which parts are approved and what evidence is needed for return to service. Do not present lamp wattage or dimensions alone as proof of interchangeability. The complete replacement compatibility decision may include mechanical, electrical, optical and environmental requirements beyond the damaged cover. The linked compatibility guide discusses that separate selection task.
If the specialist requests a closer inspection, arrange it under an appropriate method rather than forwarding the request to an operator as an informal instruction to dismantle the head. Document who will perform the work and which prerequisites apply. The usefulness of a photograph does not override the access or energy-control requirements of obtaining it.
Verify release and retain the condition history
Keep the inspection outcome, repair information and required verification with the unit record. Identify the person authorized to release the machine and any limitations that remain. A service email stating that a part has been ordered is different from a completed repair and verified return to service. Dispatch should be able to distinguish those states without guessing.
Compare post-service records with the original report so the correct head and defect have been addressed. Where the maintenance process requires tests or checks, retain their actual results. A clean exterior photograph alone does not establish the condition of seals, wiring or internal components. This guide supplies no substitute test method or acceptance value.
Use repeated damage reports to review handling and exposure, while keeping the investigation evidence-led. Similar-looking cracks do not prove a single cause across a fleet. Preserve dates, transport information and photographs, and ask the responsible technical team whether a broader review is warranted. The aim is a dependable service decision and a traceable history, rather than a confident diagnosis made from appearance alone.
Equipment and related guidance
Use the Keyyou tracked lifting light tower product reference to identify the product context; obtain the actual delivered unit documentation for operational decisions. Continue with Light Tower Inspection Checklist: Pre-Use to Shutdown, plus LED replacement compatibility, off-hire condition evidence.
Further learning: Electrical Equipment Safety
Energy Safe Victoria’s public safety video Electrical Equipment Safety warns against using damaged electrical equipment. It supports the hold-and-assess principle for suspected damage; it is not a light tower lens inspection method, repair instruction or proof of a particular defect.
Watch the educational video on YouTube.
Frequently asked questions
Does a lamp that still works have an undamaged enclosure?
Light output does not establish the condition of the cover, seals or internal equipment. Assess reported damage under the applicable process.
Can an operator repair a crack with tape or sealant?
Do not improvise an unapproved repair. Obtain an authorized service decision for the actual assembly.
Can this guide set an acceptable crack size?
No. Acceptance criteria must come from applicable equipment information and competent assessment.
Are close photographs worth climbing the mast?
No. Gather evidence only through an approved safe access arrangement; request competent assistance when ground-level observation is insufficient.
Sources and scope
These authorities provide general principles within their respective jurisdictions. Apply the current destination rules and manufacturer instructions; these sources do not certify the pictured tower or establish machine-specific operating limits.